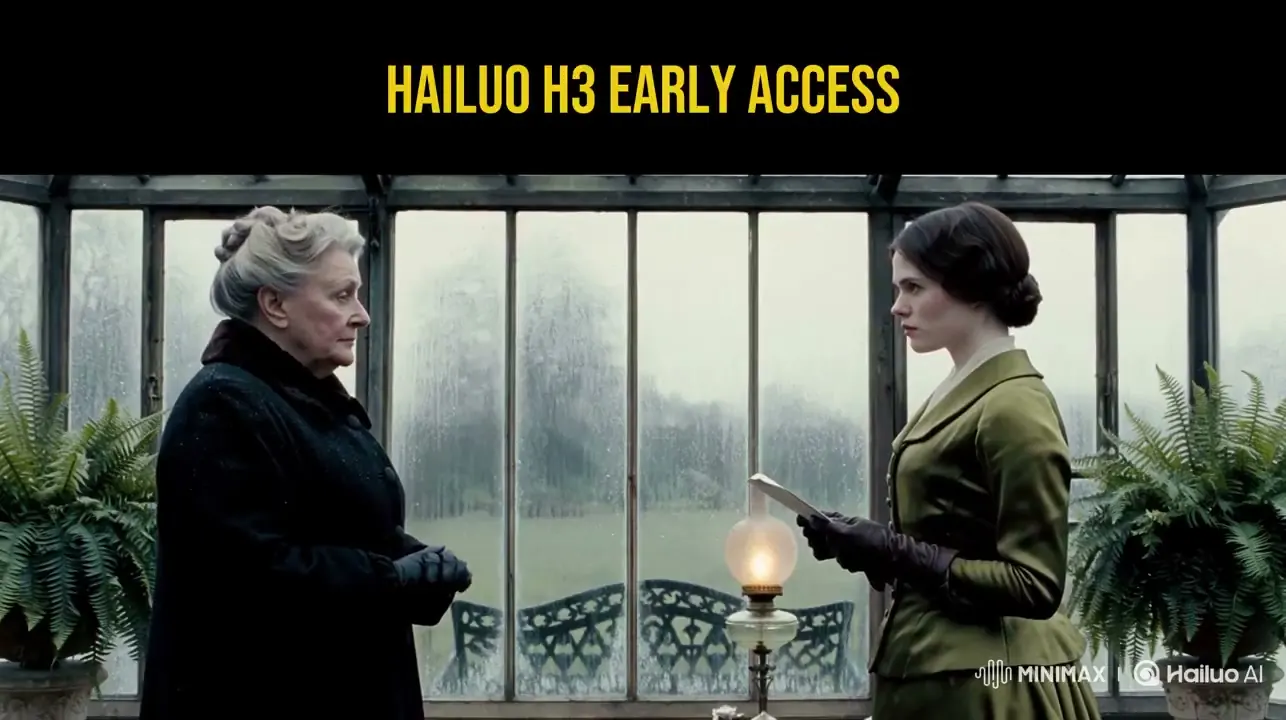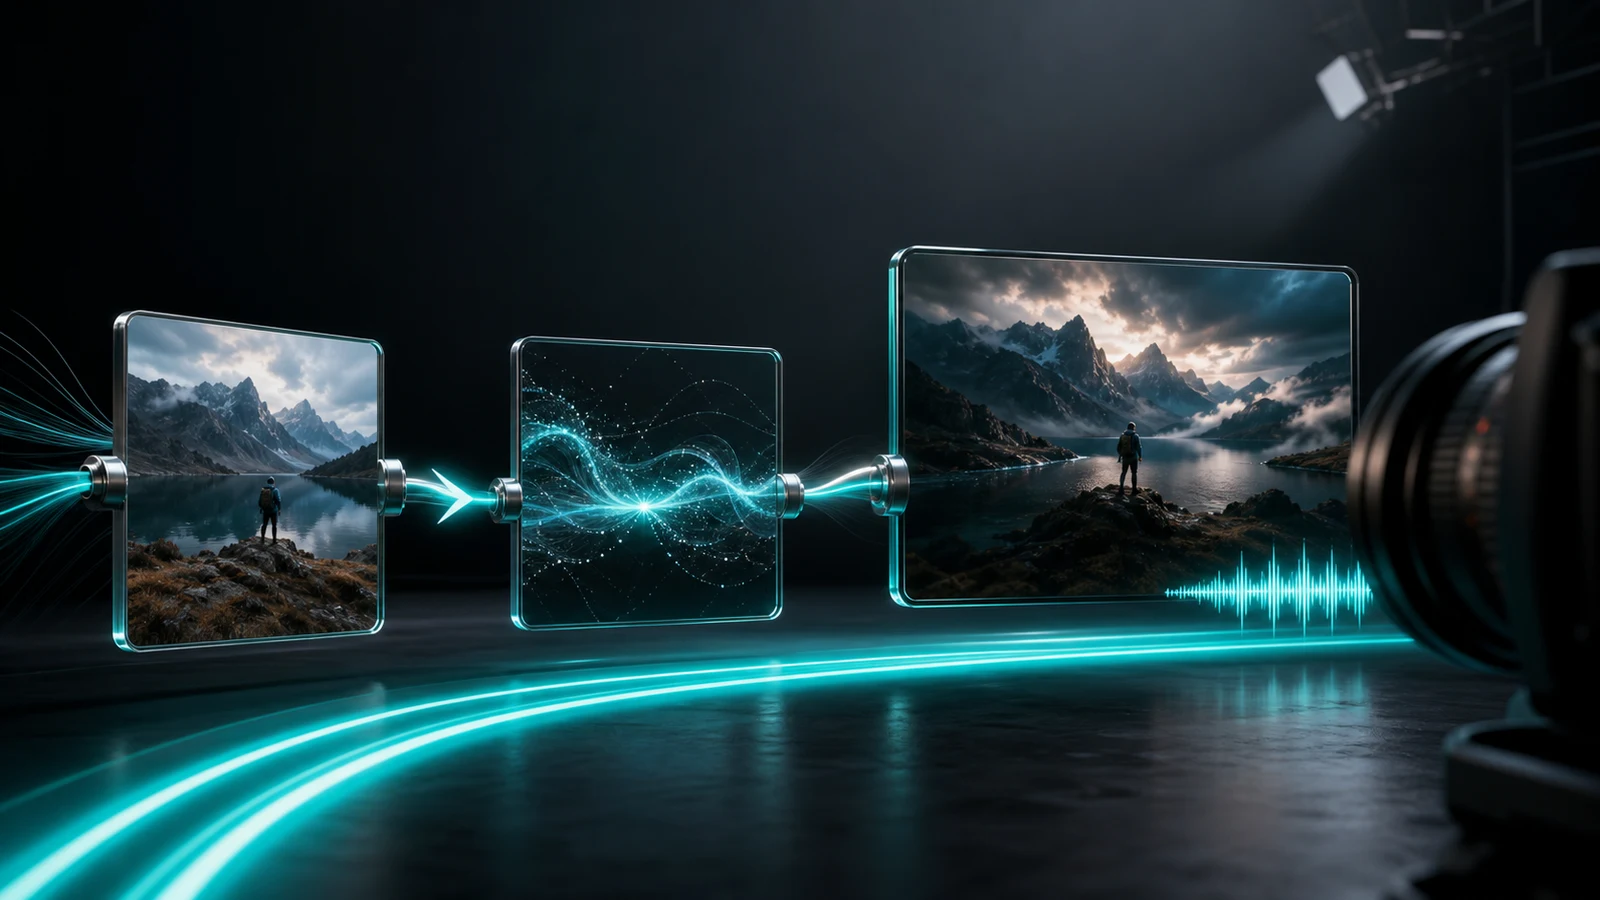
MiniMax H3 is now live. You have read the specs, you have seen the demos, and you want to try it yourself. This guide walks you through the entire process — from choosing your platform to writing your first prompt to iterating on the result — so you can go from zero to a usable 2K video with synchronized audio as efficiently as possible.
No prior experience with AI video generation is assumed. If you have used other models before, skip to the sections most relevant to you; H3 has enough unique features (Omni-Reference, instruction-based editing) that even experienced users will find new territory here.
Step 1: Choose Your Entry Point
H3 is accessible through several channels. The right one depends on whether you want a visual interface for quick testing, or an API for integration into a production workflow.
Option A: Hailuo Official Website (hailuoai.video)
This is the simplest path. Sign up at hailuoai.video, select H3 from the model menu, and start generating through a browser-based interface. No coding required. No API keys to manage.
Best for: individual creators, first-time testers, anyone who wants to evaluate H3's output quality before committing to an API integration. You can also find curated examples, tips, and the latest H3 news at minimaxh3.art.
Option B: EvoLink Unified API
For developers building products or automated workflows, EvoLink provides a programmatic interface with three model IDs based on your input type:
| Model ID | Use When |
|---|---|
minimax-h3-text-to-video | You are generating from a text prompt only |
minimax-h3-image-to-video | You have a first frame, last frame, or both to anchor the generation |
minimax-h3-reference-to-video | You want to supply multi-modal references (images + video + audio) for maximum control |
The API is asynchronous: you submit a task, receive a task ID, poll for status, and download the resulting MP4 when complete. There is no cancel endpoint — if a task fails, you receive a full refund.
A basic request looks like this:
``json { "model": "minimax-h3-text-to-video", "prompt": "A lone traveler walks along a windswept cliff at golden hour, cinematic tracking shot", "duration": 5, "quality": "2k", "aspect_ratio": "16:9" } ``
Pricing: ~$0.13 per output second at 2K. A 5-second clip costs ~$0.65; a 15-second clip ~$1.95. Reference images and audio are free; reference video clips add their duration to the billable time.
Option C: Third-Party Platforms
OpenArt, Atlas Cloud, and other inference providers offer H3 through their own interfaces, often with unified API compatibility and pay-as-you-go pricing. These can be convenient if you already have accounts on those platforms and want to compare MiniMax H3 against other models in the same environment.
Step 2: Write a Strong Prompt
The prompt is the most important input you provide. H3 follows your instructions closely, which means vague prompts produce vague results, and specific prompts produce specific results. The difference between a mediocre generation and a great one often comes down to prompt quality.
The Recommended Structure
Think of your prompt as a compact production brief. The most effective prompts follow this sequence:
Subject → Scene → Action → Camera → Timing → Visual Style → Audio
You do not need to include every element in every prompt. But covering the major ones gives the model enough to work with, and the order helps it understand what matters most.
Example 1: Product Advertisement
`` A luxury silver watch rests on a dark stone pedestal inside a modern gallery. The camera slowly pushes forward as a beam of light moves across the metal surface. Fine dust floats in the air. Premium cinematic commercial style, controlled movement, high contrast lighting, subtle mechanical ticking and deep ambient sound. ``
Notice how this prompt covers all seven elements:
- Subject: luxury silver watch
- Scene: dark stone pedestal, modern gallery
- Action: light beam moves across the surface
- Camera: slowly pushes forward
- Visual style: premium cinematic commercial, high contrast
- Audio: mechanical ticking, deep ambient sound
Example 2: Narrative Scene
`` A young woman enters a quiet cafe during heavy rain. She closes her umbrella, looks toward the counter and notices an old friend. Begin with a wide exterior shot, cut to a medium tracking shot as she enters, then finish on a close-up of her surprised expression. Natural dialogue ambience, rain against the windows and soft piano music. ``
This prompt demonstrates multi-beat storytelling: it describes a sequence of events across time, specifies three distinct shots with explicit camera directions, and defines both the ambient and musical audio layers.
Example 3: Action Scene
`` First-person POV, eye level, handheld game footage. A player holding an assault rifle advances slowly along the perimeter of a modern military base. The crosshair scans the corridor ahead; after a brief pause, the player fires several rounds at a distant target point, then continues forward. Cold natural lighting mixed with smoke and muzzle flash. Subtle handheld sway with small lateral glances, minor recoil vibration when firing, then steady forward movement. ``
This prompt shows how to specify perspective (first-person POV), physical behavior (recoil, sway), and atmosphere (cold light, smoke, muzzle flash) for high-intensity content.
Prompting Rules That Actually Matter
Based on early user testing and platform documentation, these guidelines make the most consistent difference:
- Write camera moves in professional shot language. "Slow orbit to the right" works better than "camera moves around." "Handheld tracking shot" works better than "following the character." H3 follows film vocabulary — use it.
- Describe events in chronological order. The model interprets your prompt as a timeline. If you describe the ending before the beginning, it may reorder the shots.
- Limit the number of major actions. A 15-second clip can support 2–3 distinct actions or story beats. Trying to fit six events into 15 seconds produces confused output.
- Separate visual instructions from audio instructions. Place your visual description first, then add audio cues at the end. This helps the model parse which instructions apply to which output channel.
- Name what must stay consistent. If a character's appearance, a product's branding, or a background element must remain stable across shots, say so explicitly.
- Do not fill every second with a new event. H3 handles pacing and pauses. Leaving room for moments of stillness produces more natural results than a second-by-second action list.
Step 3: Use Omni-Reference for Maximum Control
Omni-Reference is H3's signature feature, and it is where the model separates itself from the competition. Here is how to use it effectively.
What You Can Upload
| Reference Type | Maximum | Duration Limits | File Size |
|---|---|---|---|
| Images | Up to 9 | — | 30 MB each |
| Video clips | Up to 3 | 2–15 seconds each; 15 seconds total per type | 50 MB each |
| Audio clips | Up to 3 | 2–15 seconds each; 15 seconds total per type | 15 MB each |
| Total files | 12 | — | 64 MB request body limit |
Key constraints:
- Audio cannot be submitted alone — it must be paired with at least one image or video.
- Reference video duration is added to your billable output time; reference images and audio are not.
- Supported formats: JPG, PNG, WEBP, HEIC, HEIF (images); H.264, H.265 (video); WAV, MP3 (audio).
How to Prepare Reference Images
The quality of your reference images directly determines the quality of your character consistency. Follow these guidelines:
- Even lighting. Avoid harsh shadows, strong backlighting, or mixed color temperatures. A well-lit face with minimal shadows gives the model the most usable data.
- Direct face angle. Front-facing or near-front-facing photos work best. Profile shots, three-quarter angles, and tilted heads reduce the model's ability to lock identity.
- No obstructions. Hats, sunglasses, hair across the face, hands covering features — all of these reduce the reference's effectiveness.
- Clean background. A simple, uncluttered background helps the model separate the subject from the environment.
- Multiple angles if possible. If you have several reference slots available, use them: one front-facing, one slight angle, one full-body. This gives the model a more complete picture.
How to Prepare Audio References
Audio references anchor the voice of a character. The same quality principles apply:
- Use a clean recording with minimal background noise.
- 2–15 seconds of clear speech is sufficient.
- Consistent vocal tone (no whispering-to-shouting transitions within the clip).
- If you are targeting a specific accent or speech pattern, the reference should demonstrate it.
When to Use Omni-Reference vs. Text-to-Video
| Scenario | Recommended Mode |
|---|---|
| Quick concept test, no specific character needed | Text-to-video |
| Product animation from a product photo | Image-to-video (first frame) |
| Character must look and sound specific across shots | Omni-reference |
| Style transfer from existing footage | Omni-reference (video clip) |
| Ad creative with a brand mascot | Omni-reference (images + audio) |
| Music video with consistent performer | Omni-reference (images + video + audio) |
Step 4: Generate, Review, and Iterate
Setting Up Your Generation
Before hitting generate, configure these parameters:
- Duration: Start with 5 seconds for testing. Once you are satisfied with the prompt and references, extend to 10 or 15 seconds.
- Aspect ratio: Match your target platform. 9:16 for TikTok/Reels/Shorts. 16:9 for YouTube and general use. 1:1 for Instagram feed. 21:9 for cinematic widescreen.
- Quality: 2K is the only option at launch — this is the default and the recommended setting.
What to Evaluate in Your First Generation
Do not just watch the output once and move on. Evaluate systematically:
- Prompt adherence. Did the model follow your subject, scene, action, and camera instructions? If not, which elements were ignored or misinterpreted?
- Character consistency. (If using references) Does the character match the reference images? Are facial features, clothing, and proportions stable across shots?
- Audio quality. Is the dialogue intelligible? Do sound effects land at the right moments? Is the ambient atmosphere appropriate?
- Motion quality. Are movements natural? Is there any warping, flickering, or temporal inconsistency?
- Overall composition. Does the framing work? Is the lighting consistent? Does the pacing feel right?
Iterating with Instruction-Based Editing
This is where H3's workflow advantage becomes clear. When your generation is 85–90% right and one element needs fixing, do not regenerate from scratch. Use instruction-based editing instead.
Send a follow-up instruction describing only the change you want:
- "Change the jacket color to navy blue."
- "Replace the background with a sunset beach."
- "Make the camera movement slower in the first half."
- "Change the character's expression to more surprised."
The model applies the edit to the existing generation while preserving the framing, lighting, performance, and camera path. This is dramatically more efficient than regenerating — you keep what works and fix what does not.
Pro tip: If your first edit instruction does not produce the desired result, try rephrasing it with more specificity. "Change the background" is vague. "Replace the background with a white studio wall with soft directional lighting from the upper left" is specific enough for the model to act on.
When to Regenerate Instead of Edit
Instruction-based editing is powerful, but it is not always the right choice:
- Fundamentally wrong output (wrong subject, completely wrong scene, incoherent motion): regenerate with a revised prompt.
- Multiple interconnected problems (if fixing one thing would require cascading changes): regenerate may be cleaner than stacking multiple edit instructions.
- Wanting a fresh creative direction: sometimes the best move is to try a completely different prompt rather than forcing edits on a generation that is heading in the wrong direction.
Step 5: Export and Integrate
Downloading Your Video
Generated videos are delivered as MP4 files. On the Hailuo web interface, click the download button once generation is complete. Via API, the completed task response contains a download URL.
Important: Video links expire 24 hours after generation. Download and save your files promptly. If you are building an automated pipeline, implement a step that fetches and stores the MP4 to your own storage immediately upon task completion.
Post-Production Integration
For most use cases, the generated video will need some finishing touches before it is ready for final delivery:
- Brand elements. Add logos, watermarks, and brand-specific text overlays in your video editor. H3 handles visual scenes well, but precise typography and logo placement are still safer in post.
- Color grading. If your brand has a specific color palette or look, apply a color grade in post to align the generated video with your visual identity.
- Audio mixing. While H3 generates synchronized audio, you may want to adjust levels, add a music bed, or replace dialogue with a professional voice-over for final delivery.
- Platform formatting. Export in the codec, bitrate, and container format required by your target platform (H.264 MP4 for most social platforms, ProRes for broadcast, etc.).
Prompt Templates You Can Use Right Now
Copy, customize, and generate. These templates are structured for maximum effectiveness with H3.
Template A: Cinematic Product Shot
`` A [product] rests on [surface] inside [environment]. The camera [movement description] as [lighting effect]. [Atmospheric detail]. [Visual style] commercial aesthetic, [lighting quality]. [Audio: ambient sound + subtle effect]. ``
Example:
`` A matte black perfume bottle rests on a white marble slab inside a dimly lit studio. The camera slowly orbits to the right as a single spotlight sweeps across the glass surface. Fine mist particles float in the air. Minimalist luxury commercial aesthetic, dramatic directional lighting. Soft ambient hum and gentle glass resonance. ``
Template B: Character-Driven Narrative
`` [Character description] [action sequence in chronological order]. Begin with [opening shot], [transition shot], then finish on [closing shot]. [Dialogue or vocal quality]. [Ambient sounds] + [background music]. ``
Example:
`` A middle-aged man in a worn leather jacket sits alone at a rain-streaked window in a dimly lit diner. He stares at an old photograph, then slowly folds it and puts it in his pocket. Begin with a wide shot of the empty diner, cut to a medium close-up of his hands holding the photo, then finish on a tight close-up of his weathered face. Quiet, gravelly breathing. Rain against glass, distant highway traffic, muted jukebox playing a slow blues track. ``
Template C: Social Media Hook
`` Quick [opening action] reveals [subject] in [setting]. Camera [dynamic movement]. [Second action/beat]. [Third action/beat with visual payoff]. [Style] aesthetic, [vibrant/moody/energetic] mood. [Punchy audio: beat drop / sound effect / music style]. ``
Example:
`` Quick hand swipe reveals a pair of glowing neon sneakers floating in a dark warehouse. Camera dollies forward rapidly. The sneakers drop and land on a reflective wet floor, sending sparks outward. Urban streetwear aesthetic, high-energy mood. Heavy bass beat drop on impact, electronic hum, echo reverb. ``
Template D: Pre-Visualization / Storyboard
`` [Scene description] with [key elements]. Camera: [specific shot instruction]. Lighting: [lighting description]. Mood: [emotional tone]. Style: [reference style]. Pre-viz storyboard shot, cinematic quality. [Audio mood]. ``
Example:
`` A crowded Tokyo street at night with neon signs, umbrella-carrying pedestrians, and a wet asphalt road. Camera: handheld following shot behind a young woman walking briskly through the crowd. Lighting: warm neon glow with cold blue reflections on wet ground. Mood: tense, anticipatory. Style: Blade Runner-inspired neo-noir. Pre-viz storyboard shot, cinematic quality. Muffled crowd noise, rain footsteps, distant electronic music. ``
Common Mistakes and How to Avoid Them
| Mistake | Why It Happens | Fix |
|---|---|---|
| Character looks different in each shot | No reference images used, or references are low quality | Upload clean, evenly-lit, front-facing reference images |
| Audio does not match the visuals | Visual and audio instructions are tangled together in the prompt | Separate visual description from audio description; place audio cues at the end |
| Camera moves feel random | Prompt describes the scene but not the camera | Always specify camera movement explicitly using professional shot language |
| Too many things happening in 15 seconds | Prompt tries to fit a full storyline into one generation | Limit to 2–3 actions per generation; use multiple generations for longer stories |
| Editing instruction changed too much or too little | Edit instruction was either too vague or too broad | Be specific about what changes and what stays; one clear change per instruction |
| Video link expired before download | Forgot about the 24-hour expiration | Download immediately after generation; automate storage in API pipelines |
Quick Reference Card
| Parameter | Options | Recommendation |
|---|---|---|
| Duration | 5–15 seconds | Start with 5s for testing, extend to 15s for production |
| Aspect ratio | 21:9, 16:9, 4:3, 1:1, 3:4, 9:16 | Match your target platform |
| Quality | 2K | Default — no other option at launch |
| Reference images | 0–9 | Use 2–5 for best character consistency |
| Reference video | 0–3 | Use 1–2 for motion/style transfer |
| Reference audio | 0–3 | Use 1 for voice anchoring (requires image or video) |
| Prompt length | Chinese: ≤500 chars; English: ≤1000 words | Concise but specific |
参考资料
- OpenArt Tutorial: https://openart.ai/ai-model/minimax-h3/
- EvoLink API Guide: https://evolink.ai/zh/hailuo-3
- DeeVid Prompting Tips: https://deevid.ai/blog/minimax-h3-review
- Atlas Cloud Guide: https://www.atlascloud.ai/zh/models/minimax-h3
- OrcaRouter Explained: https://www.orcarouter.ai/blog/minimax-h3-hailuo-3-explained