Why Is H3's Prompt Writing Different from Traditional AI Video?
MiniMax H3 is not a simple "text-to-video" tool. It supports multi-modal hybrid input of up to 9 images + 3 videos + 3 audio clips, natively outputs 2K resolution videos with 15-second duration, and has built-in subtitle rendering, music synchronization, lip-syncing, and other capabilities.
This means the traditional prompt thinking of "one description produces one scene" is no longer sufficient. You need to think like a director, using prompts to tell it:
- What happens when (timeline control)
- Who is where doing what (character + environment locking)
- What is the rhythm and atmosphere of the scene (motion reference + style directives)
The following 7 techniques all come from real creators' practices on X, with original post links and frame captures, so you can learn by direct comparison.
Technique 1: Write the Timeline into the Prompt to Control Rhythm and Transitions
Core Idea: Don't just describe "a scene," but describe "a timeline."
In traditional AI video tools, you can only describe a static scene. But H3 allows you to write timecode nodes directly into the prompt to control how the scene changes at different time points.
Case Study: Anime Opening + Prompt-Based Music
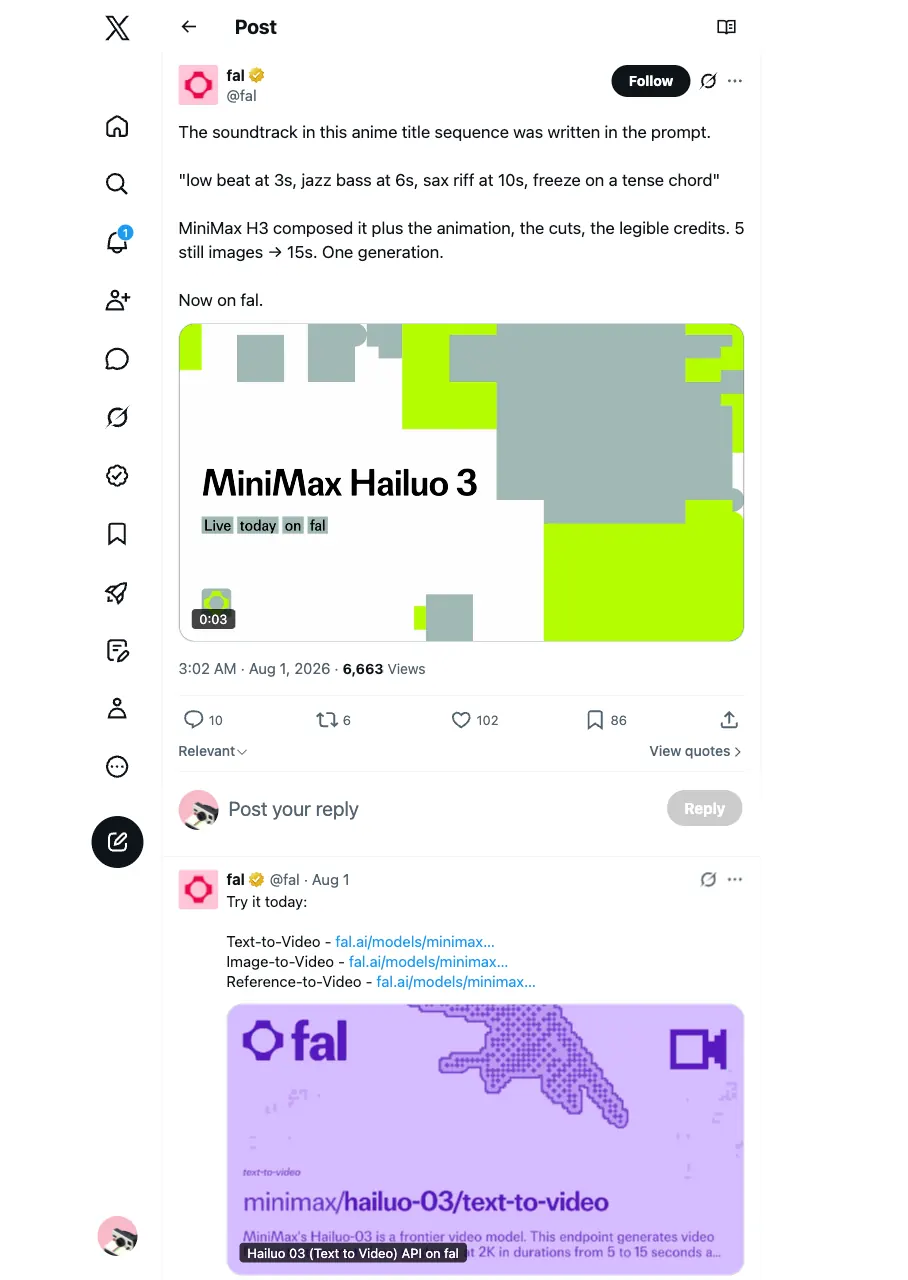
Creator @fal generated a 15-second anime opening using 5 static frames. His key technique was: writing music timing nodes directly into the prompt.
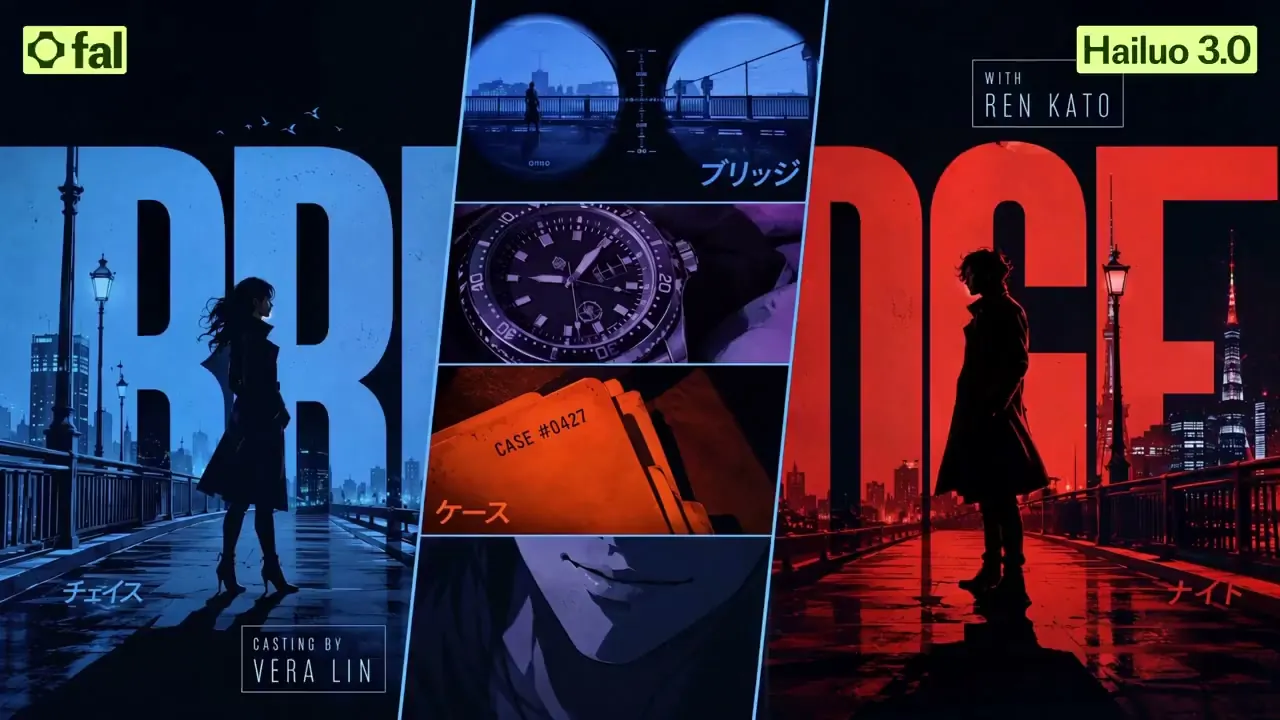
Frame capture: Title card and subtitles at the opening's climax (around 12s in the original video). The text is clearly readable, which is the result of the combined effect of timeline + music nodes.
`` The scene fades in from black, with the city skyline appearing in the background. The low-frequency drum beats at the 3rd second, and the scene advances to a character close-up in rhythm. The jazz bass joins at the 6th second, and the camera pulls back to show the full panorama. The strings push to a climax at the 12th second, and the scene switches to the title card. ``
Key Takeaways:
- Use time anchors like "at the Xth second" to segment the rhythm
- Bind music beats to scene changes together
- Each time node corresponds to a clear visual action
> Original Post: @fal — Anime Opening
Technique 2: Dual-Image Identity and Environment Locking to Maintain Character Consistency
Core Idea: Use two reference images to lock "character" and "scene" respectively, preventing AI from freely altering the character's appearance.
One of the biggest pain points in AI video is character consistency — the same character looks different in different shots. H3's multi-image reference input provides an elegant solution: division-of-labor locking.
Case Study: Realistic Thriller Short Film
Creator @Diplomeme created a realistic war thriller short film using two reference images:
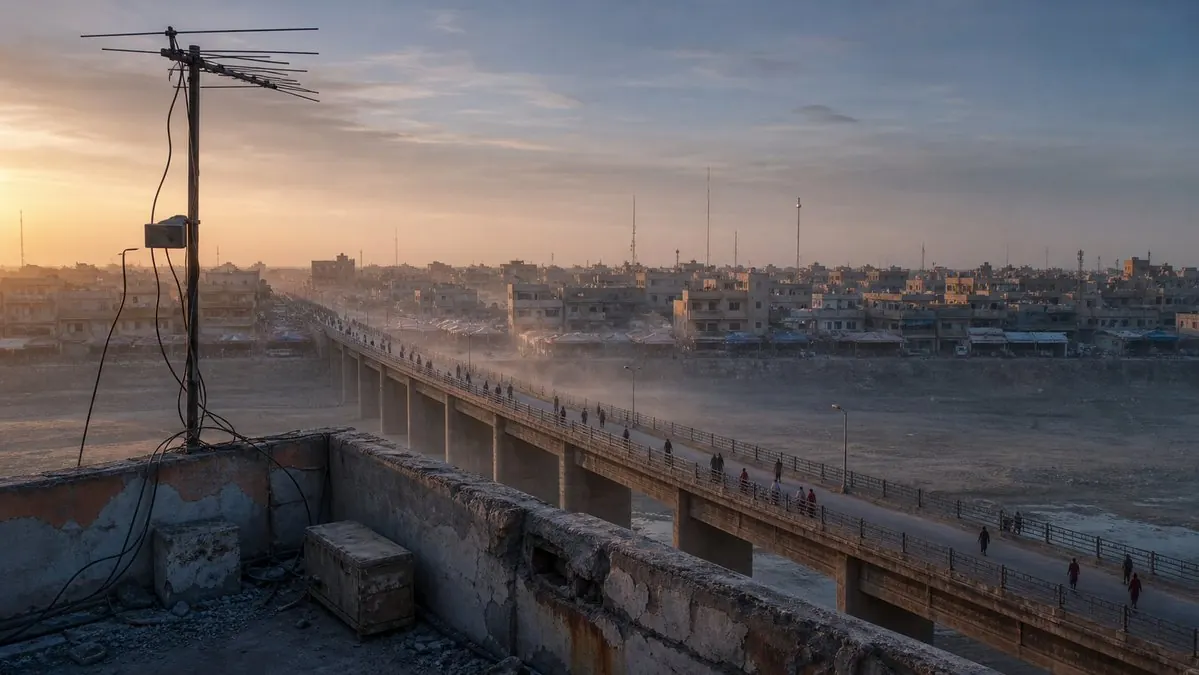
| Reference Image 1: Locking Character Identity | Reference Image 2: Locking Environment Tone |
|---|---|
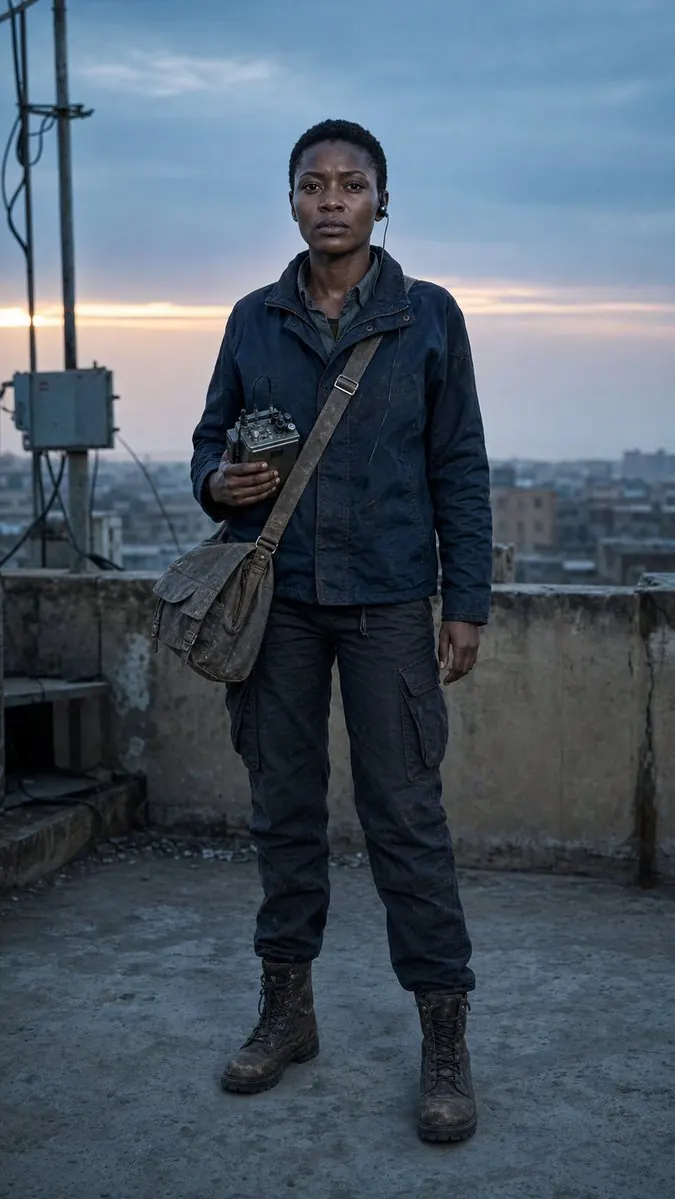 |  |
- Image 1: Locks the character's facial features, clothing, hairstyle
- Image 2: Locks the bridge, city environment, overall color tone
Then write storyboard timecodes into the prompt to let the AI generate scenes according to his editing rhythm.
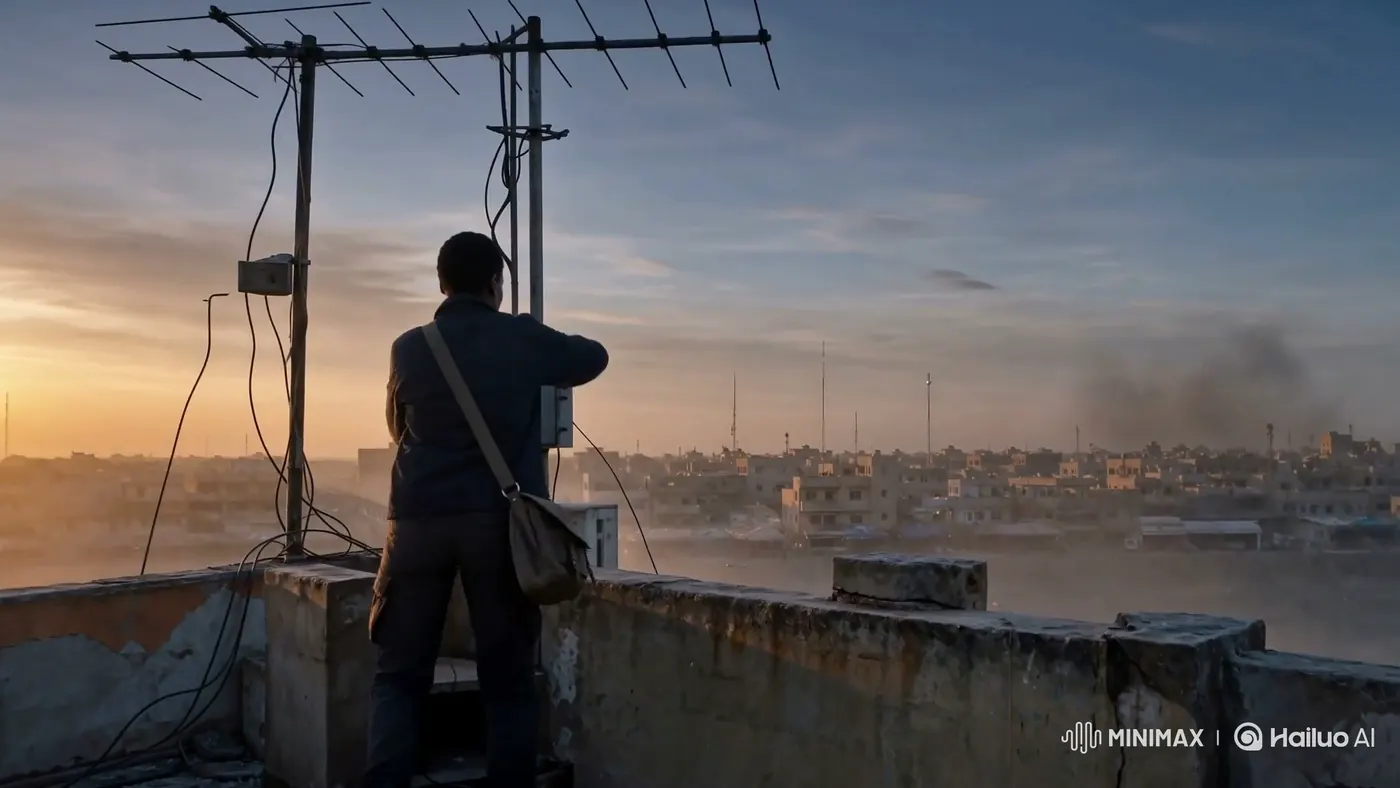
Frame capture: Coherent scene after dual-image locking of identity and environment — same character, same city, same dawn color tone.
``` Reference Image 1 is Character A, maintaining their facial features and clothing unchanged. Reference Image 2 is the city bridge environment, serving as the baseline tone for the entire film.
[0s-4s] Character A stands at the bridgehead, looking down at the river, backlit silhouette. [4s-8s] Camera slowly pushes in, character looks up, expression tense. [8s-15s] Character turns and runs, camera follows, city skyline unfolds in the background. ```
Key Takeaways:
- Each reference image should only be responsible for one dimension (character OR environment), don't mix them
- In the prompt, explicitly specify "maintain XX unchanged" to reinforce the locking directive
- Storyboard timecodes let the AI know the start and end time of each shot
> Original Post: @Diplomeme — Realistic Thriller Short Film
Technique 3: The Secret to Clear On-Screen Text — Emphasize Text Readability Specifically
Core Idea: Use a separate sentence in the prompt to emphasize the clarity and readability of on-screen text.
Many AI video models generate text that "looks like words but isn't words" — pseudo-text. H3 has clear advantages in text rendering, but the premise is that you need to explicitly request it in the prompt.
Case Study 1: Anime OP Large Title Text
Creator @slash1sol created an anime-style opening where clear title text appeared on screen. His key approach was emphasizing in the prompt:
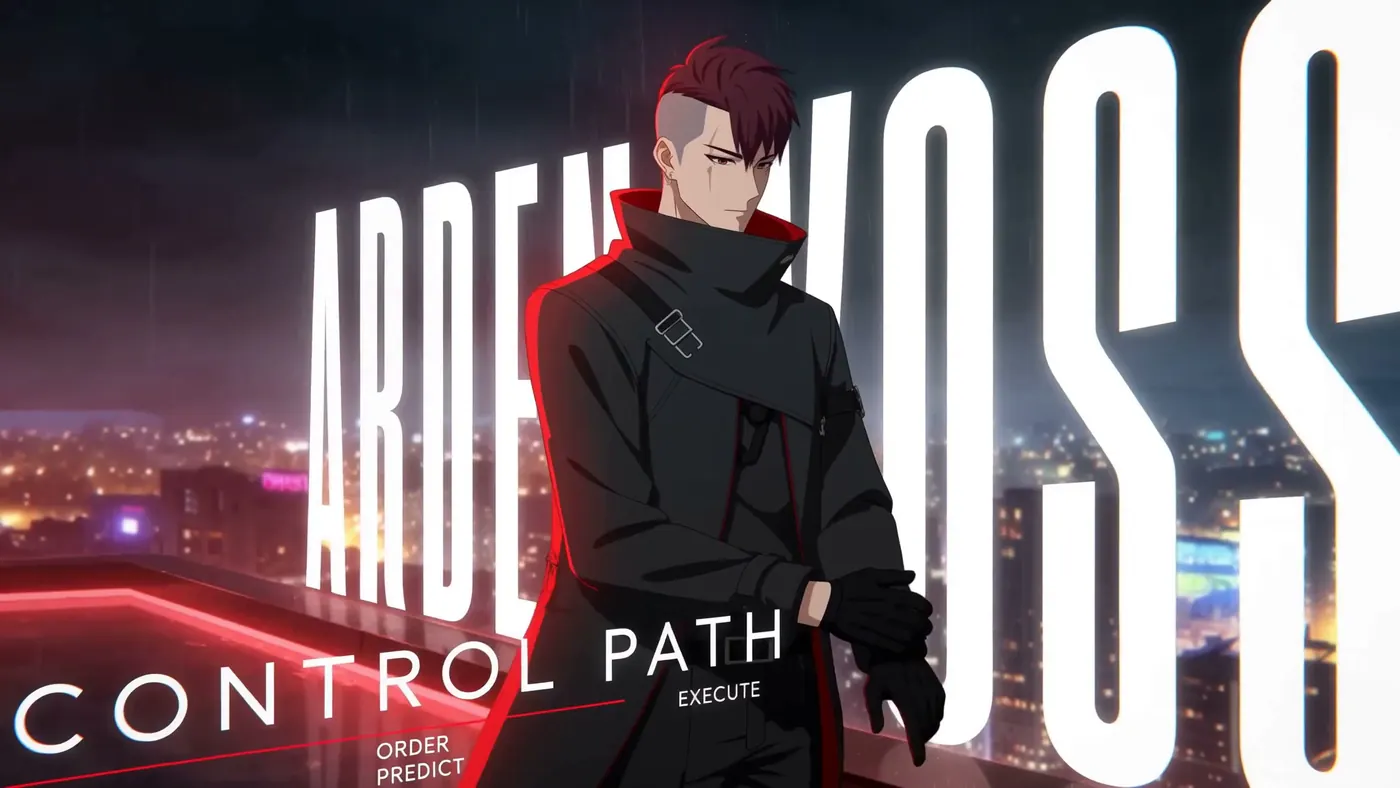
Frame capture: The huge "ARDEN VOSS" text behind the character has sharp edges and remains legible during motion — this is one of the representative works of H3's text rendering capability.
`` Title text "XXX" appears in the center of the screen, with clear and sharp fonts, no blur at edges, white text with black outline, ensuring readability in dynamic scenes. ``
Case Study 2: Mobile UI Text in French Client Advertisement
Creator @0xInk_ used other models for the main footage when creating an advertisement for a client, but specifically used H3 for the mobile scrolling text shots because H3's text is cleaner and more controllable.
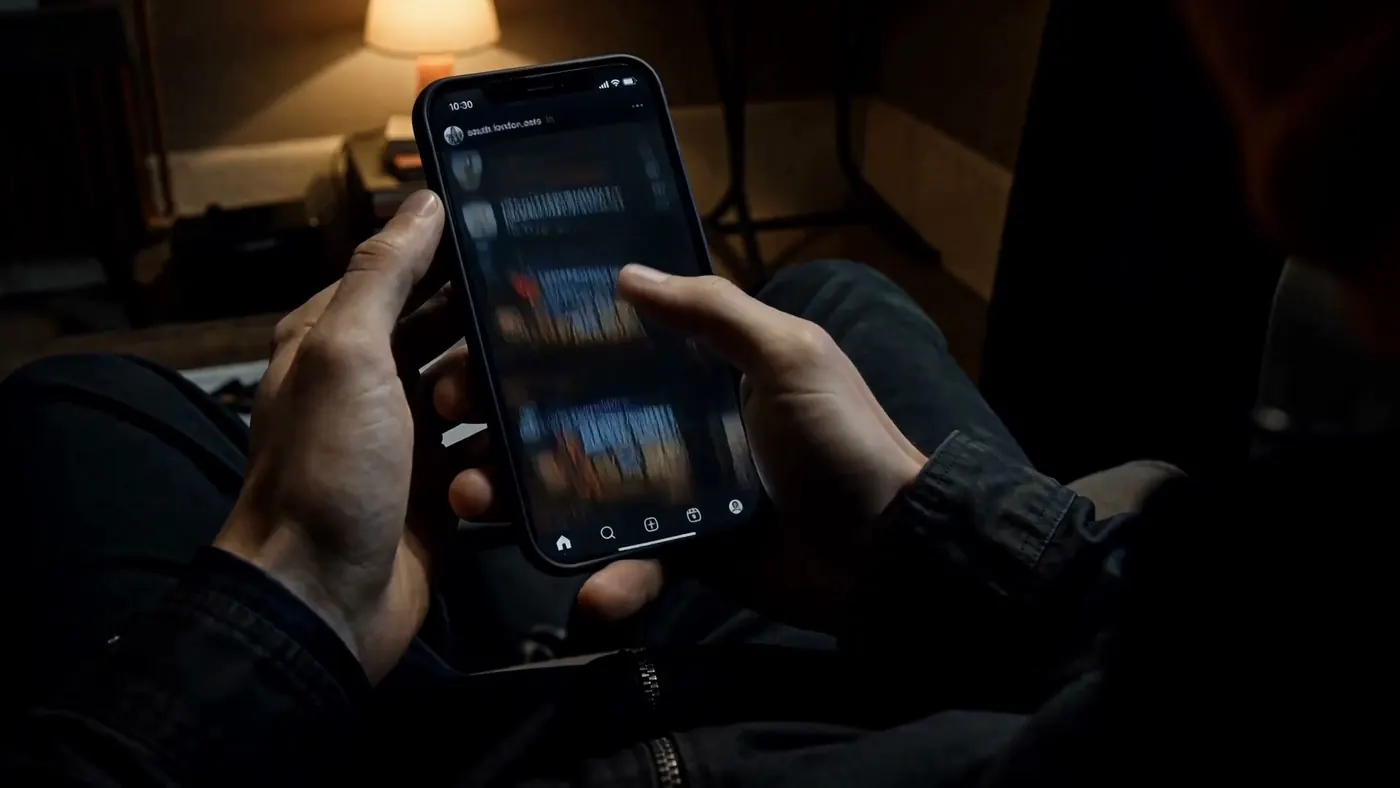
Frame capture: Product/scene shot from the advertisement. The original post specifically mentions: mobile scrolling UI text was generated separately with H3, resulting in cleaner text.
`` Mobile screen displays scrolling French text, with sans-serif font, text clearly readable, scrolling speed uniform, screen reflection natural. ``
Key Takeaways:
- Use a separate sentence in the prompt to emphasize "clear," "sharp," "readable"
- Specify font style (serif/sans-serif) and color (white text with black outline, etc.)
- If not all text in the entire video needs to be clear, you can only use H3 for key shots
> Original Posts: > > - @slash1sol — Anime OP Large Title > - @0xInk_ — French Client Advertisement
Technique 4: The Correct Use of Multi-Modal References — The Combination Punch of Image + Video + Audio
Core Idea: Don't just describe with text; use reference images for visuals, reference videos for rhythm, and reference audio for atmosphere.
H3's Omni multi-modal capability is one of its biggest differentiating features. You can simultaneously input images, videos, and audio as references, letting the AI comprehensively understand the effect you want.
Case Study 1: Six-Image Asset + Reference Video Rhythm Synthesis
Creator @influencer_seo's approach was very clever:
- 6 images as visual building blocks, each representing a shot's visual reference
- 1 reference video not for visuals, but for rhythm, transitions, and music atmosphere
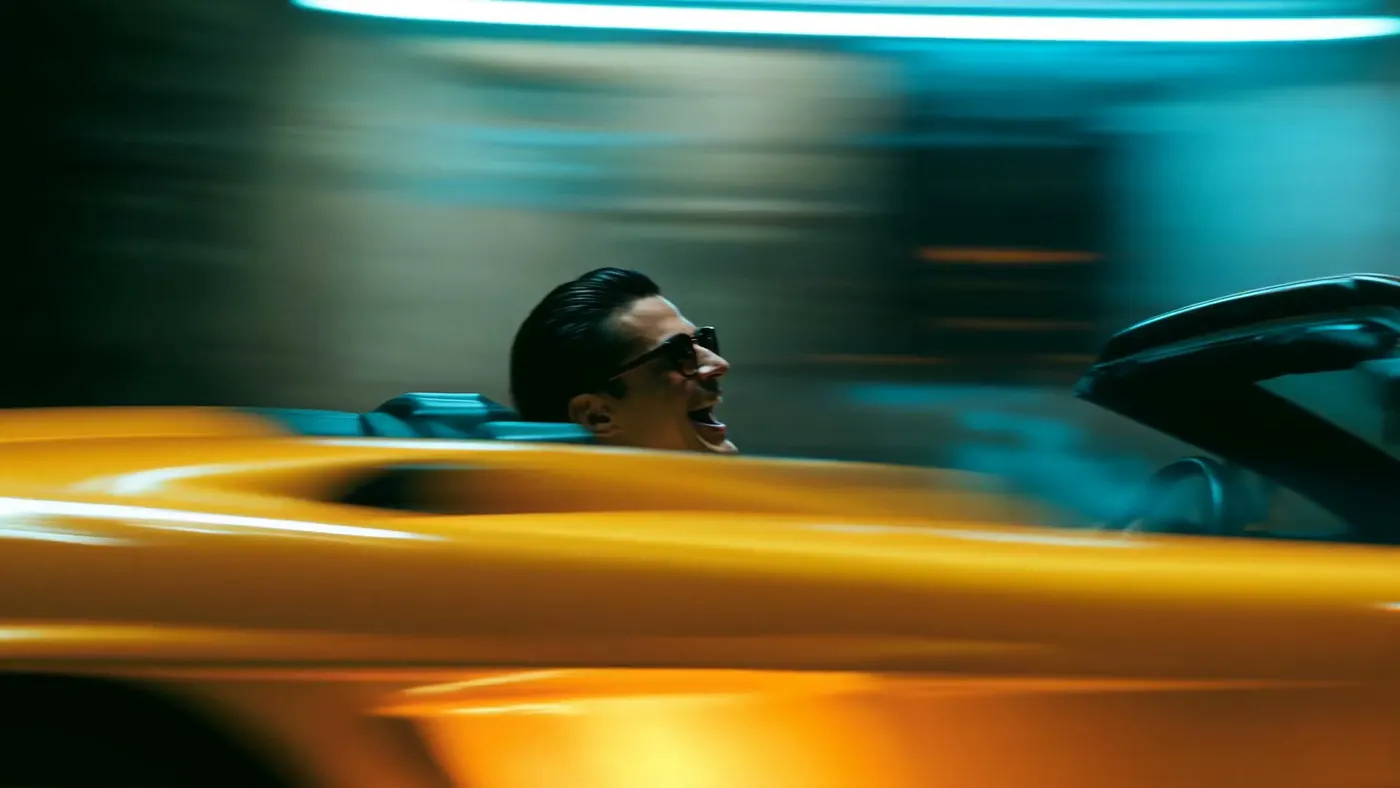
`` Reference images 1-6 are visual references for 6 shots respectively. Reference video is used to extract editing rhythm and transition style, do not copy the visuals directly. Overall rhythm: slow push in the first 5 seconds, fast cuts in the middle 7 seconds, freeze frame in the last 3 seconds. ``
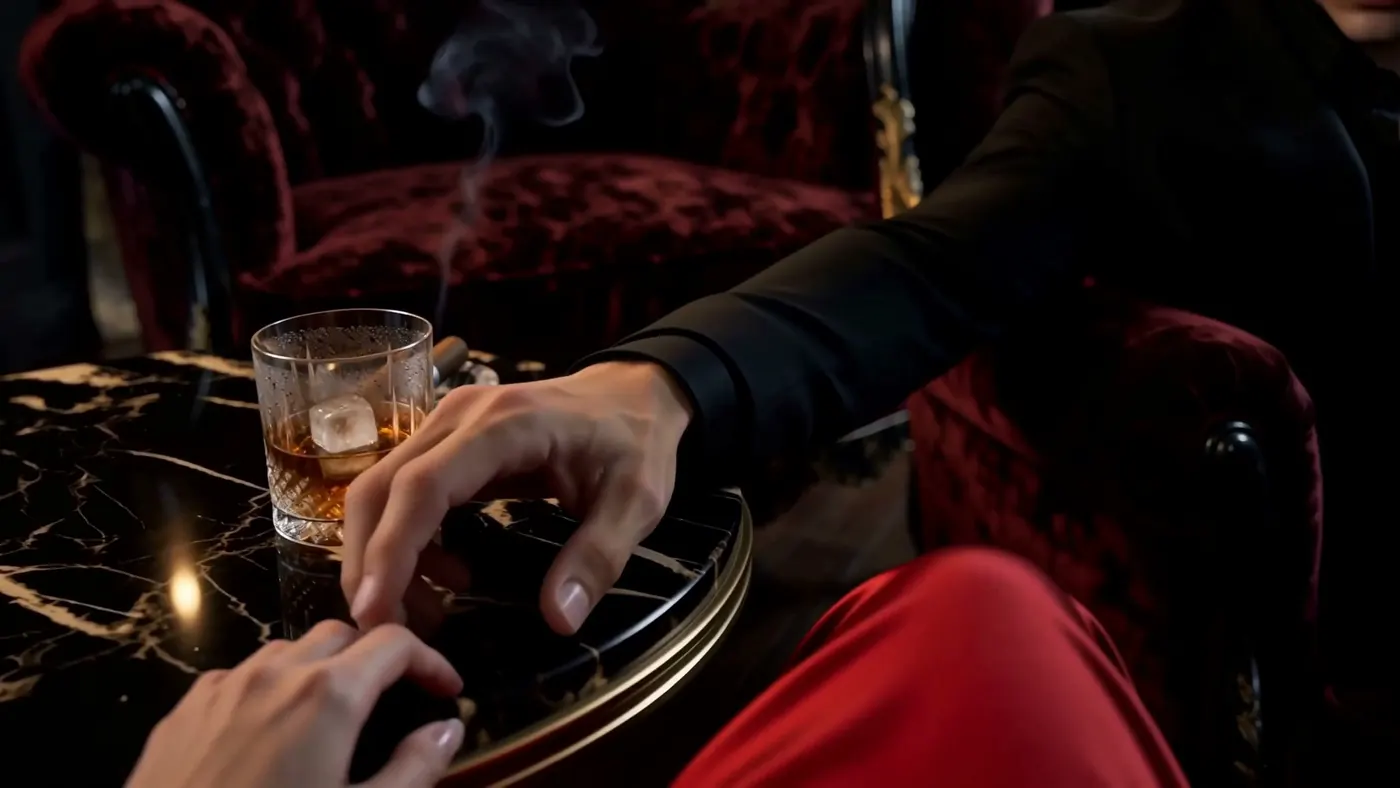
Case Study 2: Omni Reference Commercial Explanation
Creator @YaseenK7212 demonstrated a complete Omni workflow: text description of intent + images for visual locking + audio for atmosphere control + video for motion reference. He particularly emphasized "consistency" — the core value of multi-modal input is not "more materials" but "more consistent output."
Case Study 3: AE Rough Animation Driving Real Scenes
Creator @seiiiiiiiiiiru created a rough graphic animation with After Effects, then input it as a motion reference to H3. The AI doesn't copy AE's visuals, but learns its motion rhythm and direction, then "applies" this motion to the static frame you provide.
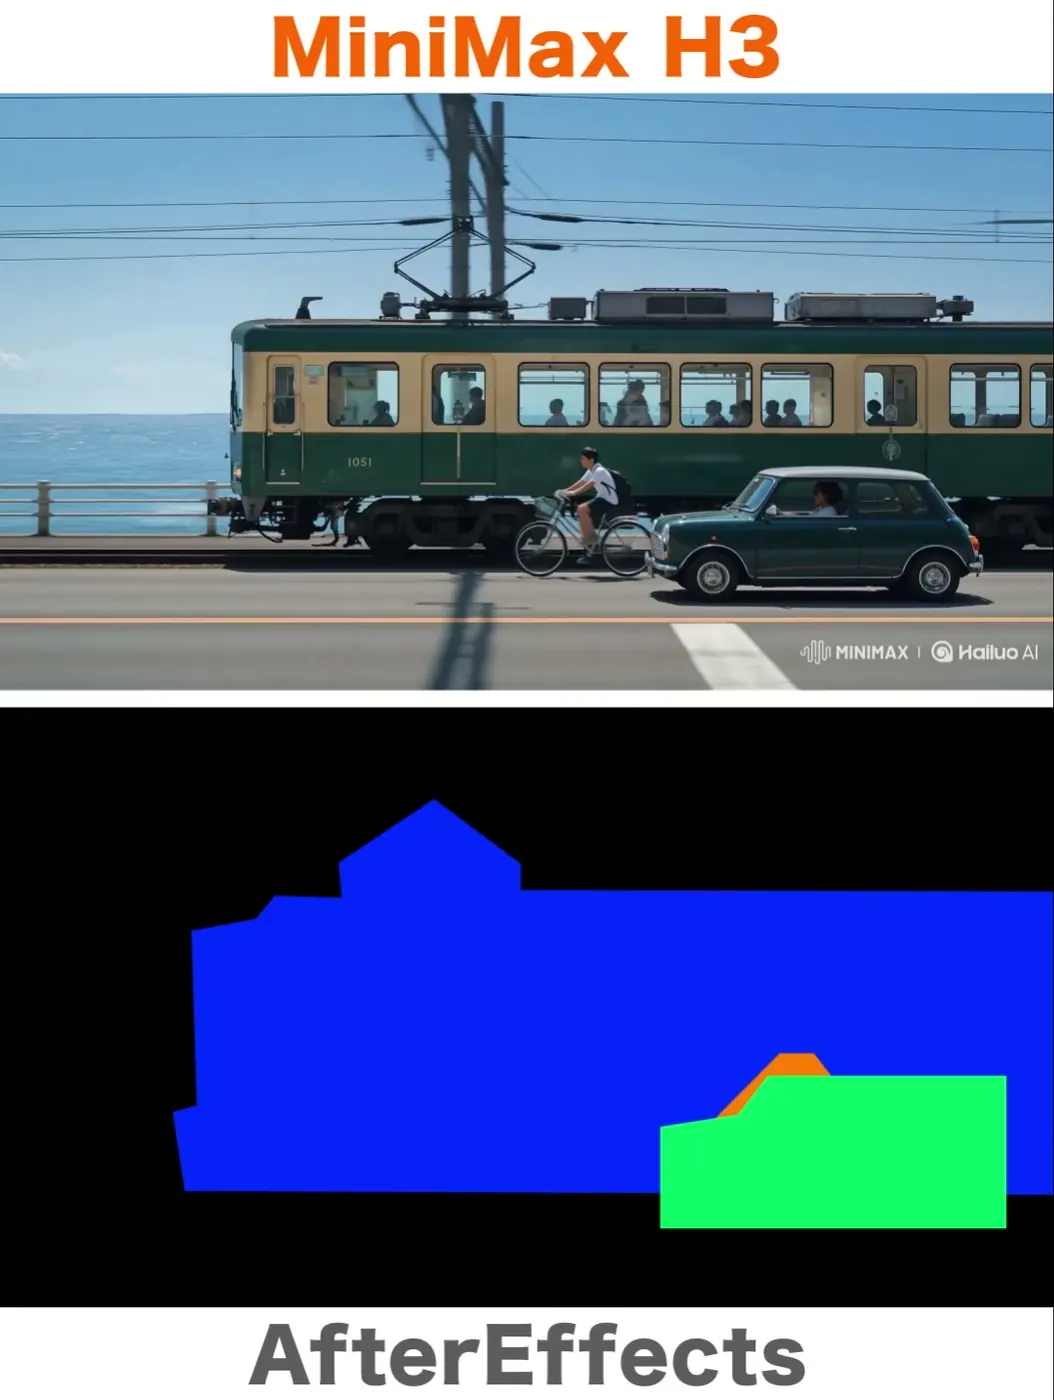
`` Reference video is for motion reference, extracting its motion rhythm and direction. Visual content is based on the reference image, maintaining the static frame's composition and color tone. Make the scene move slowly according to the reference video's rhythm. ``
Key Takeaways:
- Image = visual content, Video = motion/rhythm, Audio = atmosphere/mood
- In the prompt, explicitly specify each reference's purpose ("reference image for visuals," "reference video for rhythm")
- Don't let the AI guess your intent; directly clarify each input's role
> Original Posts: > > - @influencer_seo — Six-Image + Video Synthesis > - @YaseenK7212 — Omni Commercial Explanation > - @seiiiiiiiiiiru — AE Driving Static Frame
Technique 5: Single Image + Prompt Directly Producing Product Advertisements
Core Idea: A good product image, combined with a structured prompt, can directly generate a 15-second commercial advertisement.
This is the scenario e-commerce sellers care about most — no need for a shooting team, one product image is enough.
Case Study: Single Image Generating 15-Second Product Advertisement
Creator @ai_for_success demonstrated the process of directly generating a 15-second advertisement from a single product image. The key prompt structure is:
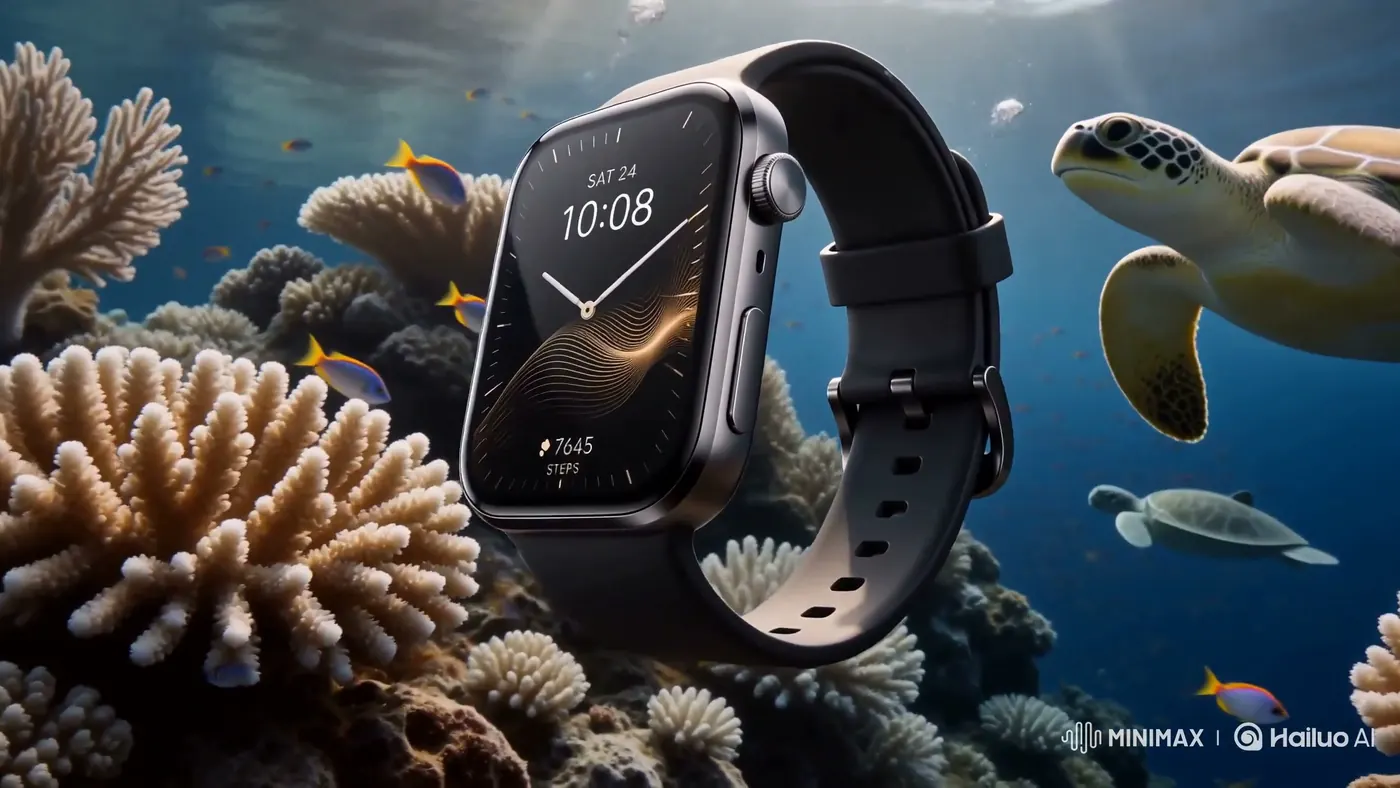
Frame capture: Commercial-grade product shot generated from a single image — coral, sea turtle and watch in the same frame, watch face text clearly readable.
``` Product image serves as the main visual reference.
Camera starts from the product front, slowly orbits to showcase product details. Background is light gray gradient, soft lighting, creating premium texture. At the 8th second, camera pushes in for a close-up of the product LOGO. At the 12th second, pulls back to show the full product, brand slogan appears in the background. Overall style: clean, premium, commercial advertisement quality. ```
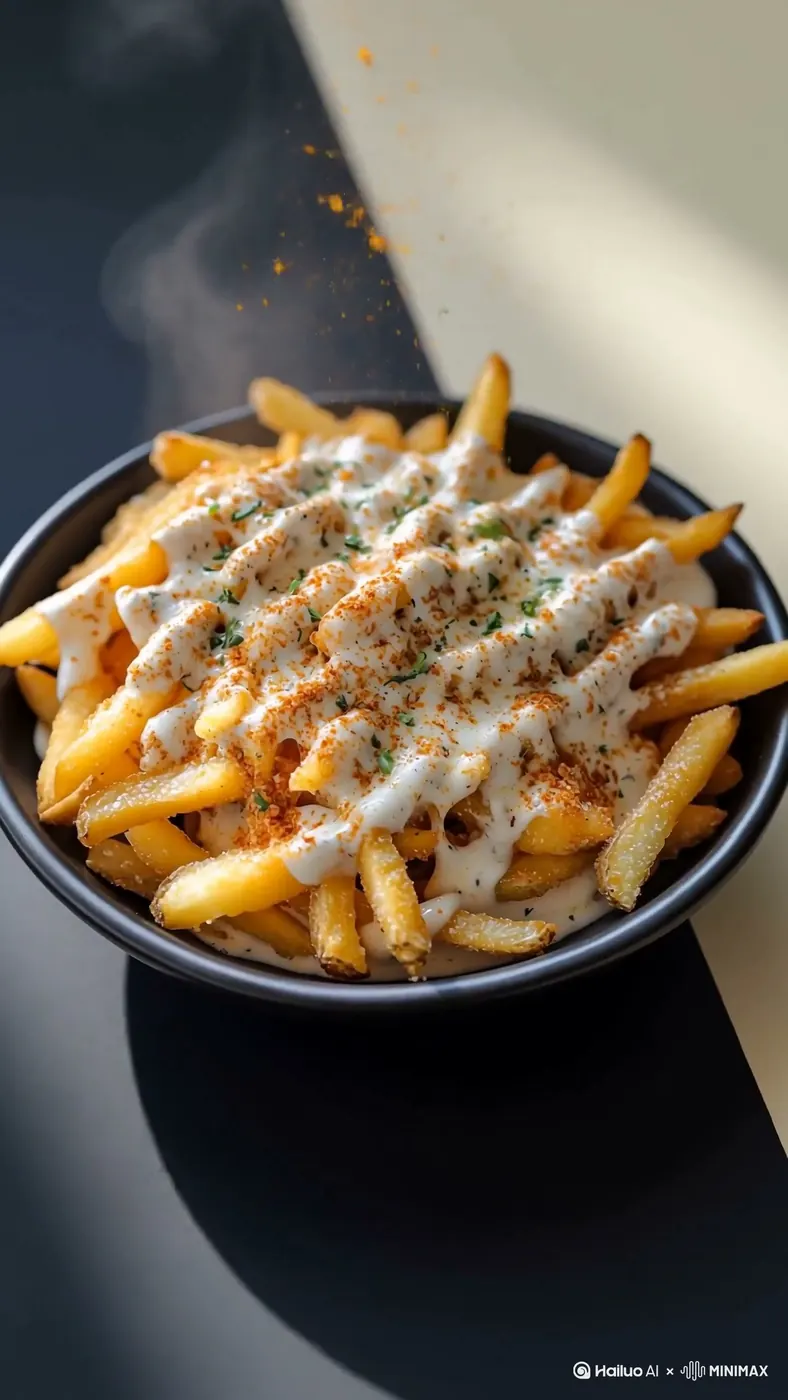
Similarly, creator @thisismariaa25 generated a summer vertical food and beverage video from a menu concept image, suitable for local life and e-commerce scenarios.
Key Takeaways:
- The composition and lighting quality of the product image directly determine the output quality
- In the prompt, specify camera movements (orbit, push in, pull back)
- Clarify background style and overall atmosphere ("clean," "premium," "commercial advertisement quality")
- For vertical content, add
9:16or "vertical" directive
> Original Posts: > > - @ai_for_success — Single Image Product Advertisement > - @thisismariaa25 — Summer Menu Vertical
Technique 6: Style Fusion Prompt Structure — Breaking the Limits of Single Style
Core Idea: Use two to three style keyword combinations to create a unique visual language.
H3's style understanding capability is strong; you can combine seemingly incompatible styles to produce surprises.
Case Study 1: Fashion Editorial × Underground Rap MV
Creator @Strength04_X fused three visual languages together:
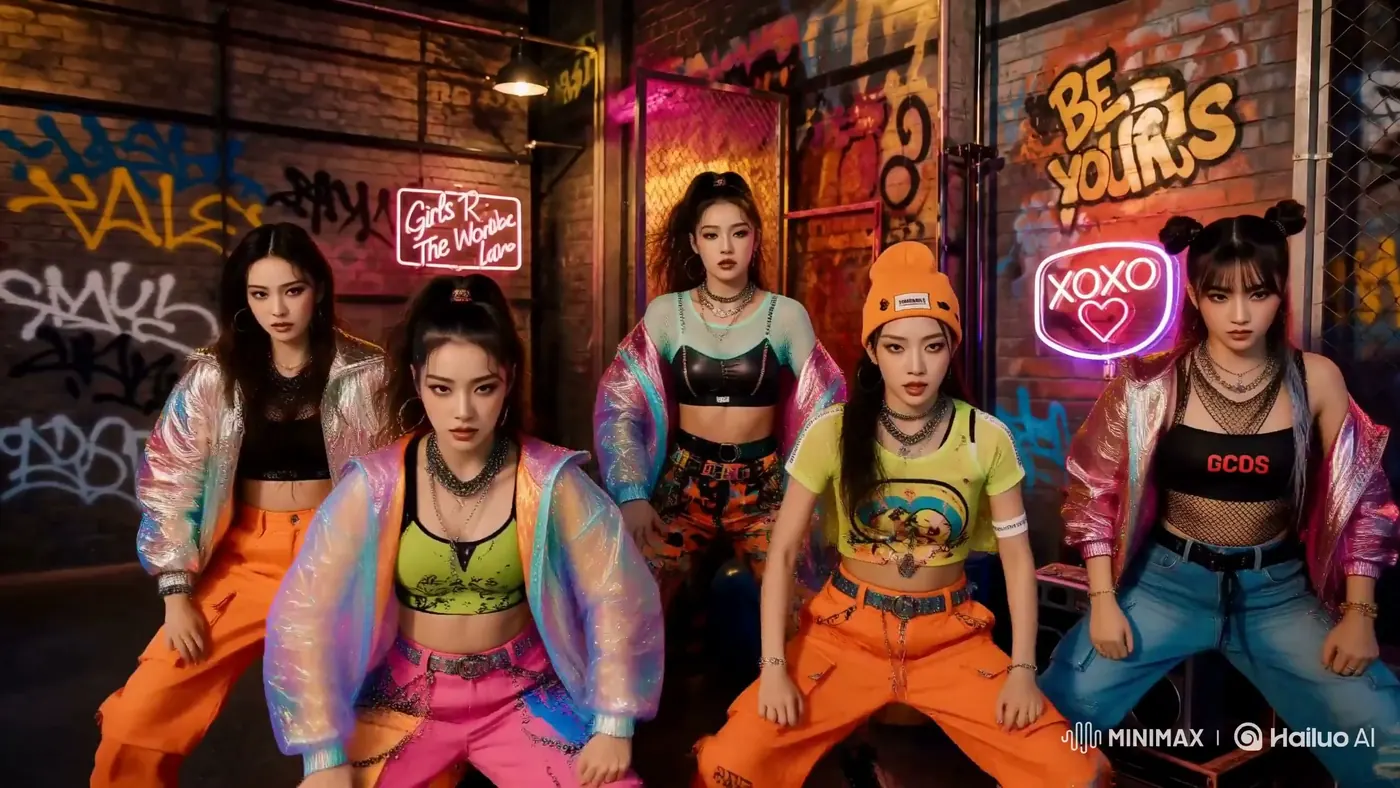
`` Fashion editorial quality + cyber-grunge fonts + underground rap MV editing rhythm. Scene switches between high-end fashion show venue and underground parking garage. Font style: bold sans-serif with neon glow. Color tone: high contrast, shadows leaning cyan, highlights leaning orange. ``
Case Study 2: Real Photo × Illustration Fusion
Creator @aichof21 used a real snap photo as reference, letting H3 generate a dynamic effect of "photo gradually melting into illustration":
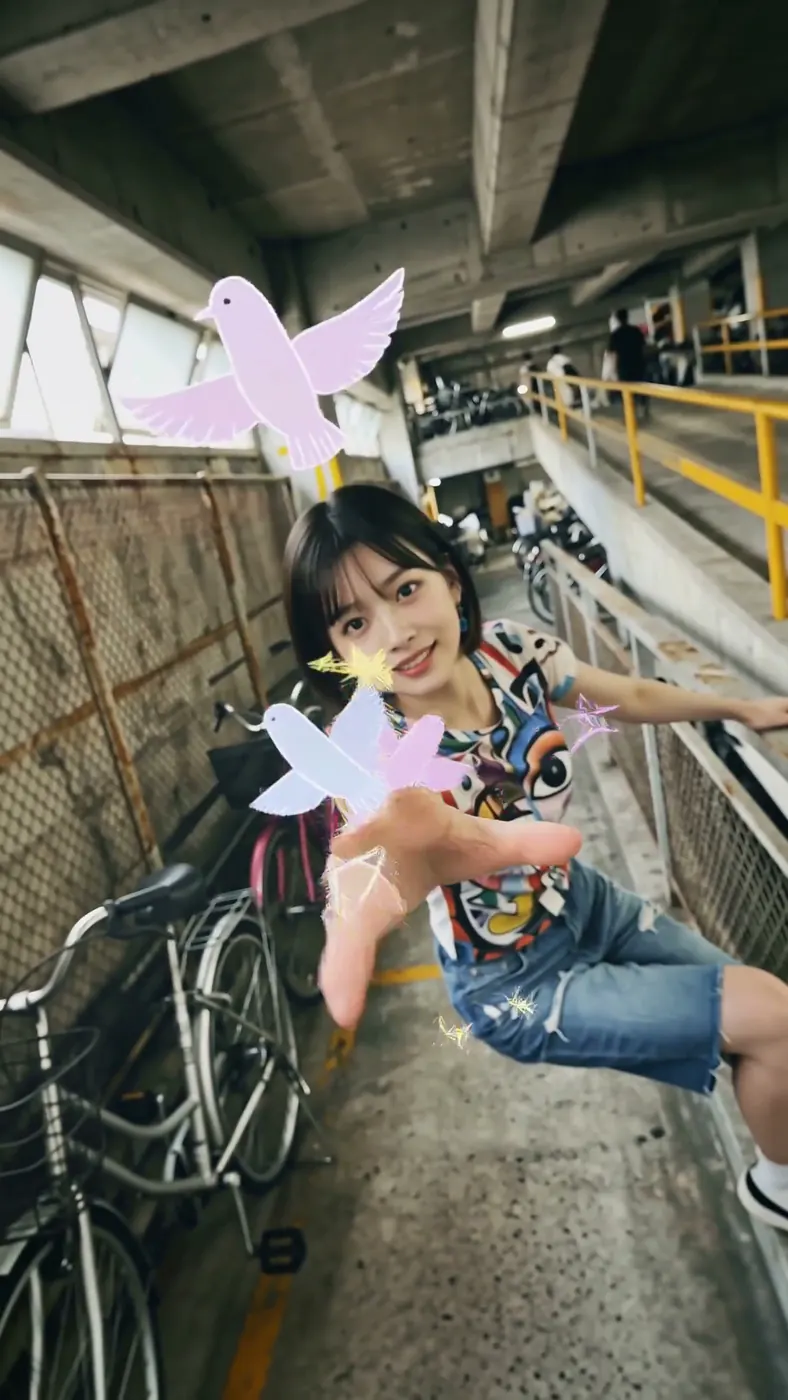
`` Reference image is a real photo. Scene starts from realistic photo, gradually transitions to hand-drawn illustration style. During transition, composition remains unchanged, only brushstrokes and colors change. Final scene is watercolor illustration style, retaining the photo's lighting relationships. ``
Case Study 3: Anime Original Short Film
Creator @hafuma created an anime character-driven short film. His style directives were very specific:

`` Japanese animation style, cel-shading, clear lines. Rich character expressions, smooth movements. Background is Makoto Shinkai-style lighting, sky has Tyndall effect. ``
Key Takeaways:
- Style fusion is not "random mixing," but combining 2-3 clear style tags
- In the prompt, specifying color tones ("shadows leaning cyan," "highlights leaning orange") is 100 times more useful than saying "good-looking"
- Referencing well-known creators'/works' style names ("Makoto Shinkai-style," "cel-shading") can significantly improve accuracy
> Original Posts: > > - @Strength04_X — Fashion × Rap MV > - @aichof21 — Photo × Illustration Fusion > - @hafuma — Anime Original Short Film
Technique 7: Storyboard Timecodes — Let the AI Follow Your Editing Rhythm
Core Idea: Split the 15-second video into 3-5 time segments, writing a storyboard description for each segment.
This is the most "director thinking" technique of all. When you write timecodes into the prompt, the AI is no longer "guessing" what you want, but "executing" your storyboard.
Case Study 1: Jet Formation Aerial Photography
Creator @Kuriyama890 created a three-jet formation aerial video with very smooth camera transitions. His prompt structure:
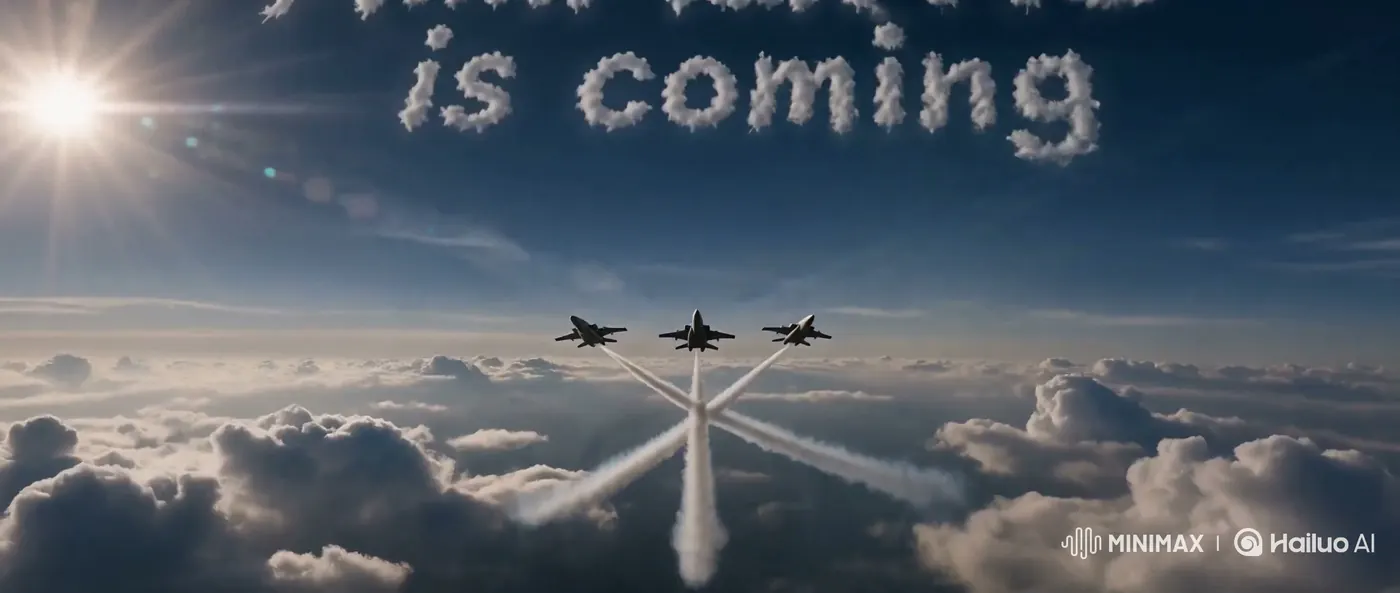
Frame capture: Three-jet formation leaving contrails, the cloud writing in the sky says "is coming" — storyboard timecodes + text rendering both working simultaneously.
`` [0s-3s] Wide-angle aerial shot, three fighter jets fly over snow mountains in V formation. [3s-7s] Switch to cockpit close-up, pilot puts on helmet. [7s-11s] Formation climbs, emitting white contrails. [11s-15s] Low-angle shot, three jets spell out "H3" in the sky. ``
Case Study 2: Story Trailer to Commercial Footage
Creator @john_my07 emphasized H3's comprehensive capabilities in prompt following, text rendering, and camera control. His approach was writing the classic trailer structure into the prompt:
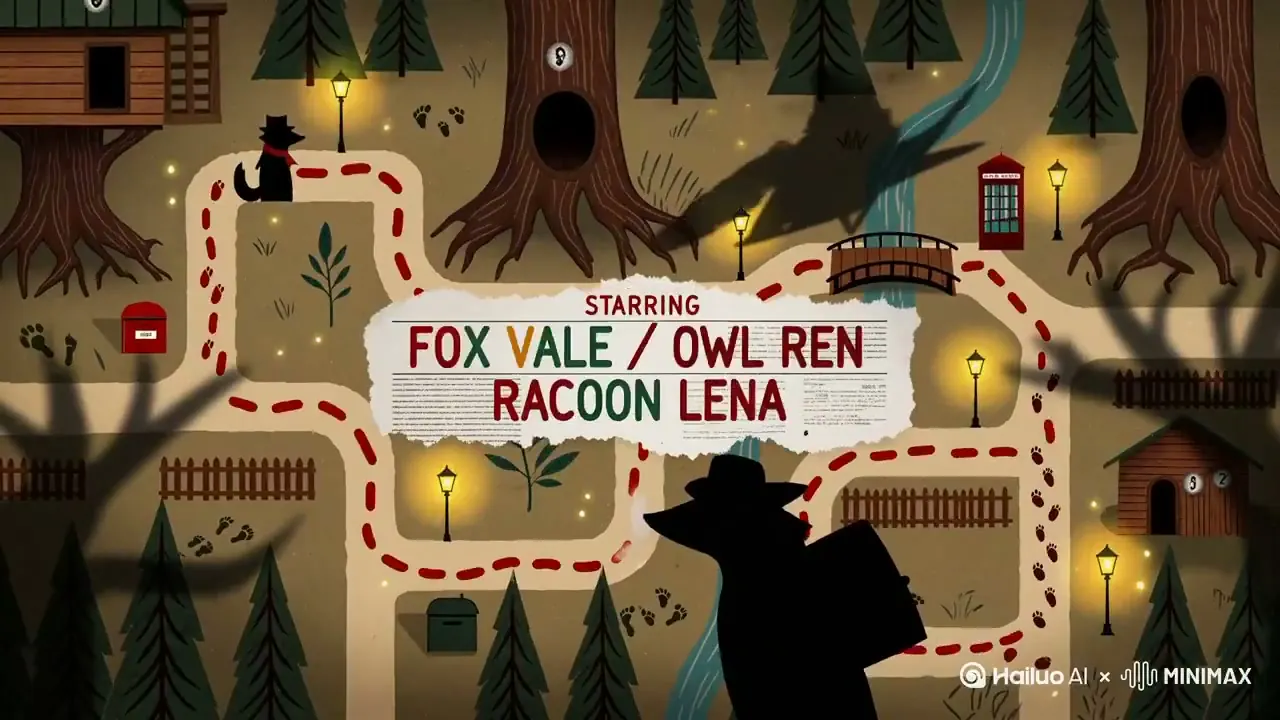
`` [0s-4s] Black screen, white title fades in. [4s-8s] Quick cuts of 3 scene shots, each about 1.3 seconds. [8s-12s] Main character front close-up, slowly pushes in. [12s-15s] Black screen, release date text appears. ``
Key Takeaways:
- Each time segment should be 3-5 seconds; not too short (AI can't complete the action) or too long (rhythm drags)
- Each time segment should only describe one core action or camera change
- Add "fade in from black" at the beginning and "fade to black" at the end to increase cinematic feel
- Timecode format:
[0s-3s],[3s-7s],[7s-15s]; make sure there are no gaps
> Original Posts: > > - @Kuriyama890 — Jet Formation Aerial Photography > - @john_my07 — Story Trailer
More Cases Worth Learning From
Beyond the cases corresponding to the 7 core techniques above, there are several other noteworthy practices:
Cinematic Multi-Shot Test — @maxescu
About 280 likes, showcasing H3's cinematic upper limit. The original post also includes multiple extremely detailed storyboard prompts (timeline, camera, physics, lighting, dialogue all specified), very worth reading in detail.
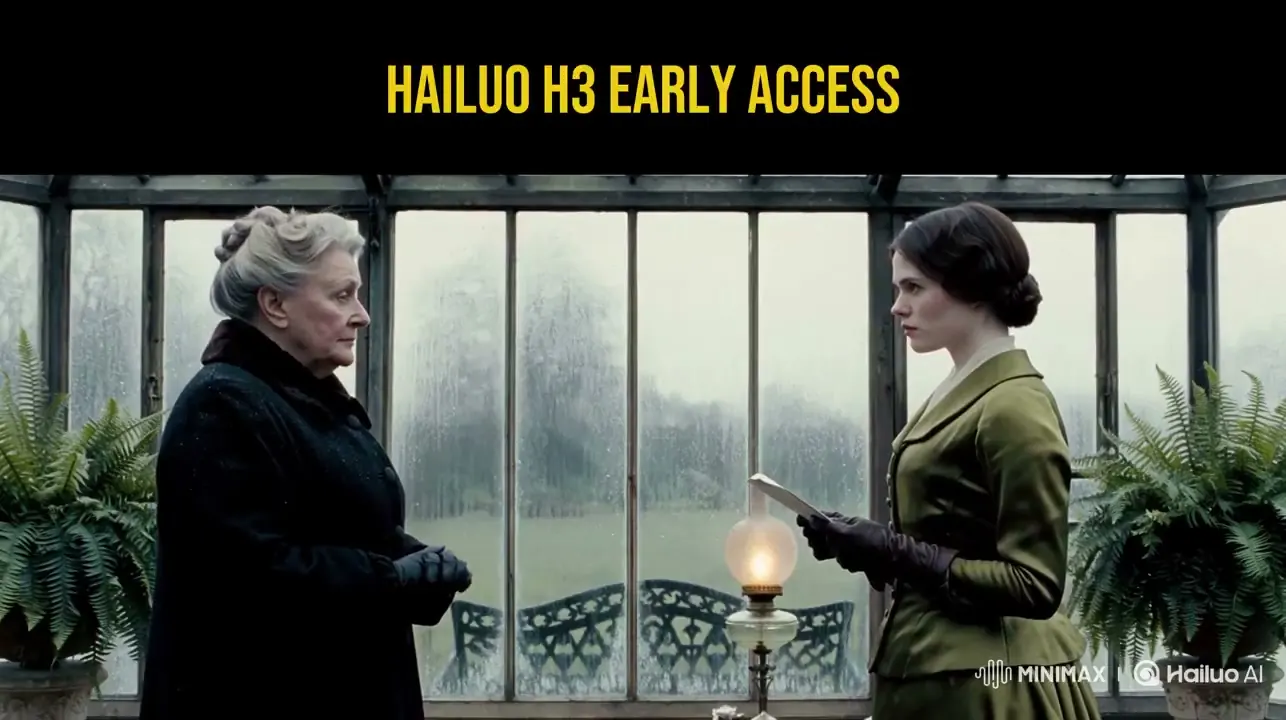
Japanese Specification Explanation + Footage — @seiiiiiiiiiiru
A benchmark case for the Japanese community, combining product specification explanation with footage demonstration.
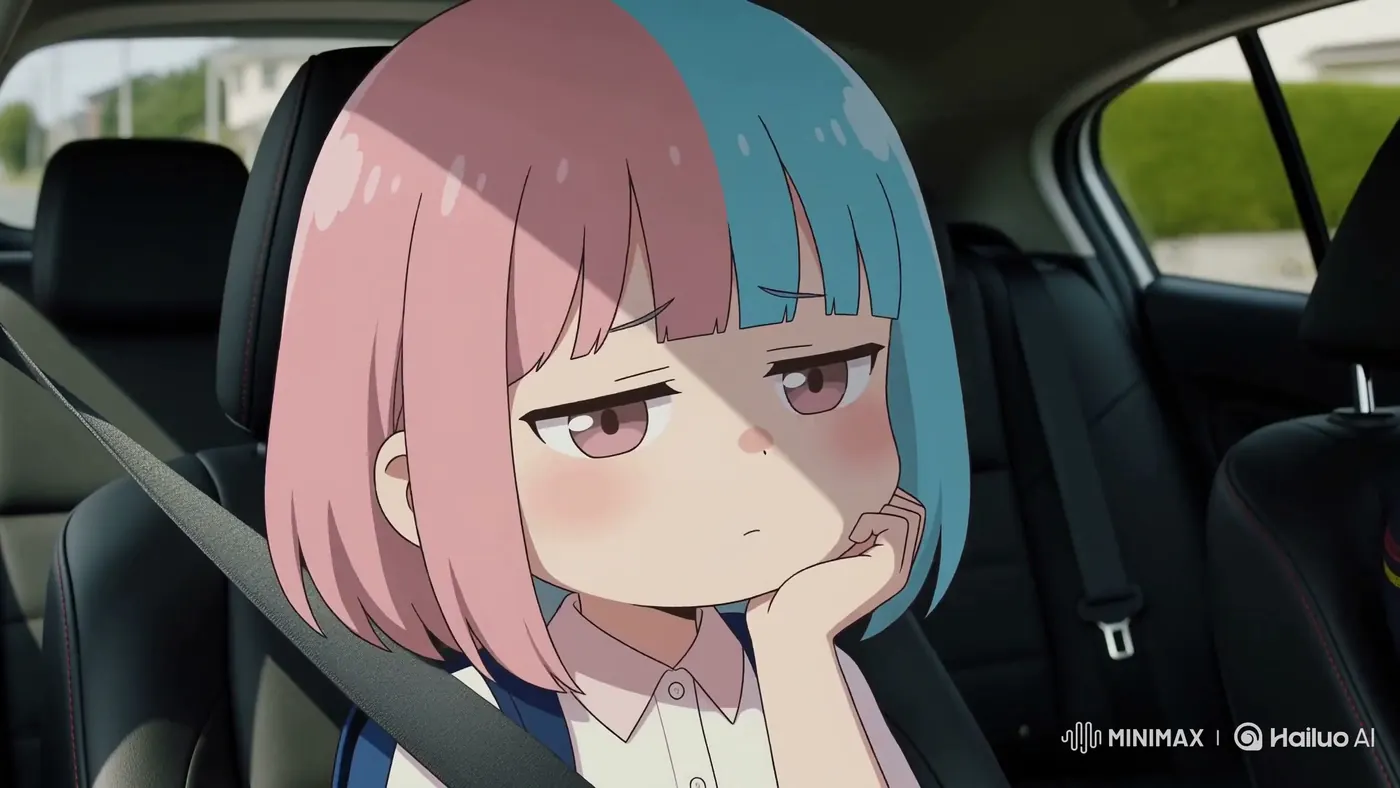
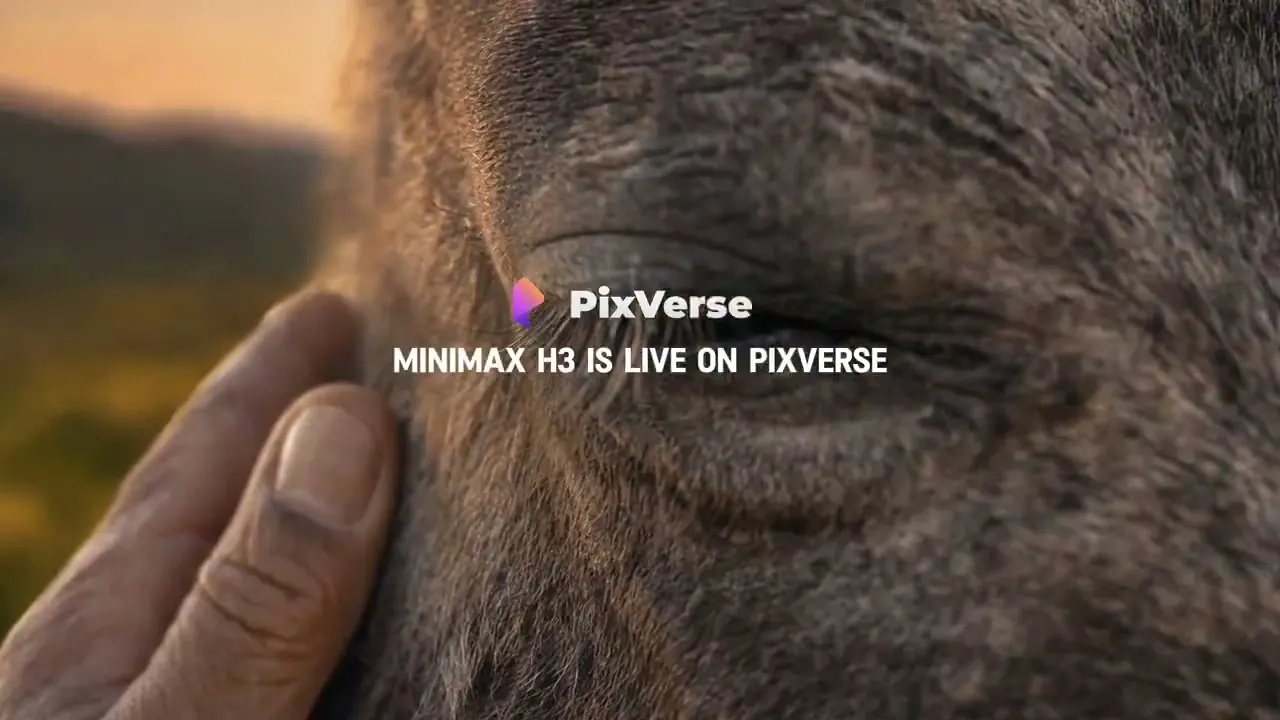
PixVerse Platform Collaboration Demo — @PixVerse_
Product launch-level footage, suitable for comparing against the platform's official demo style upper limit.
| Case | Creator | Highlight | Original Post |
|---|---|---|---|
| Cinematic Multi-Shot Test | @maxescu | High-engagement cinematic upper limit + ultra-long storyboard prompt | Link |
| Japanese Specification + Footage | @seiiiiiiiiiiru | Japanese community benchmark | Link |
| Vertical Character Lip-Sync | @qaHEqxyzUF99214 | Lip-sync attempt | Link |
| PixVerse Platform Collaboration Demo | @PixVerse_ | Product launch-level footage | Link |
| Pure Text-to-2K 15s Test | @MrDavids1 | T2V entry-level experience | Link |
| MV Production Experiment | @apilpirman | Exploring MV creation with H3 | Link |
Summary: The Golden Formula for H3 Prompts
Condensing the 7 techniques above into one formula:
`` [Timeline] + [Camera Movement] + [Visual Content] + [Style/Color Tone] + [Reference Image/Video/Audio Description] ``
A Complete Prompt Example:
``` Reference Image 1 is Character A (female, short black hair, white shirt). Reference Image 2 is office environment (floor-to-ceiling windows, city skyline). Reference video is for extracting camera movement rhythm.
[0s-4s] Medium shot, Character A sits at desk, looking down at computer, natural light from floor-to-ceiling windows. [4s-8s] Character looks up, expression surprised, camera slowly pushes in to facial close-up. [8s-12s] Character stands up, walks toward floor-to-ceiling windows, camera follows. [12s-15s] Character's back stands before windows, city skyline unfolds outside, scene freezes.
Overall style: cinematic, cool color tone, shallow depth of field, natural lighting. ```
Final Recommendations:
- Write the storyboard first, then fill in details. Split the 15 seconds into 3-5 time segments, first determine the core action for each segment.
- Divide labor for reference images. One for character, one for environment, one for style reference; don't mix them together.
- Be specific with style directives. Saying "cel-shading, Makoto Shinkai-style lighting" is much more useful than saying "anime style."
- More multi-modal input is not always better. Each input should have a clear role (visual/rhythm/atmosphere), otherwise they'll interfere with each other.
- Make good use of text rendering capability. If your video needs titles, subtitles, or UI text, H3 is currently one of the best choices.